From the moment you purchase your shed to the day your build is complete,
we’re here to guide you through every step of the installation process.
WHAT TO EXPECT
Installation Timeline
Off-season (Nov-Mar): 2–5 weeks
Peak season (April–Oct): 3–7 weeks
Most sheds are installed in 1 day
Larger models may take 2–3 days to install
Who Builds It
Most installations are completed by one skilled installer
Some larger builds may require additional time
Need to Check
HOA guidelines (style, size and placement)
Local codes and setback requirements
Clear access for installers to reach the build site
Access to electricity within 150 ft
Installation timing may vary due to weather
HOA approvals and permits may extend lead times
PREPARE YOUR SITE
With your help, we can ensure a smooth and successful build.
Here’s what we need from you before installation.
Clear & Level the Area
Clear debris, pet waste, rocks, toys and obstacles
Remove any existing structure
Level your build site
Up to 6" leveling included at no charge
Additional charges may apply beyond 6"
Foundation Options
Most sheds are installed directly on the ground using treated 4x4 wood runners and 2x4 floor joists. Optional foundation upgrades are available for an additional cost.
Available options:
Concrete slab – Best for heavy use or wet climates
Concrete blocks – Common option for leveling and support
Gravel pad – Great for drainage; must be level and compacted
Select the Right Location
Choose a safe, level and dry location
Leave at least 3 ft. of clearance on all sides
(4 ft. for sheds over 160 sq. ft.)
Avoid low or soggy areas
Check overhead clearance for trees, wires or roof overhangs
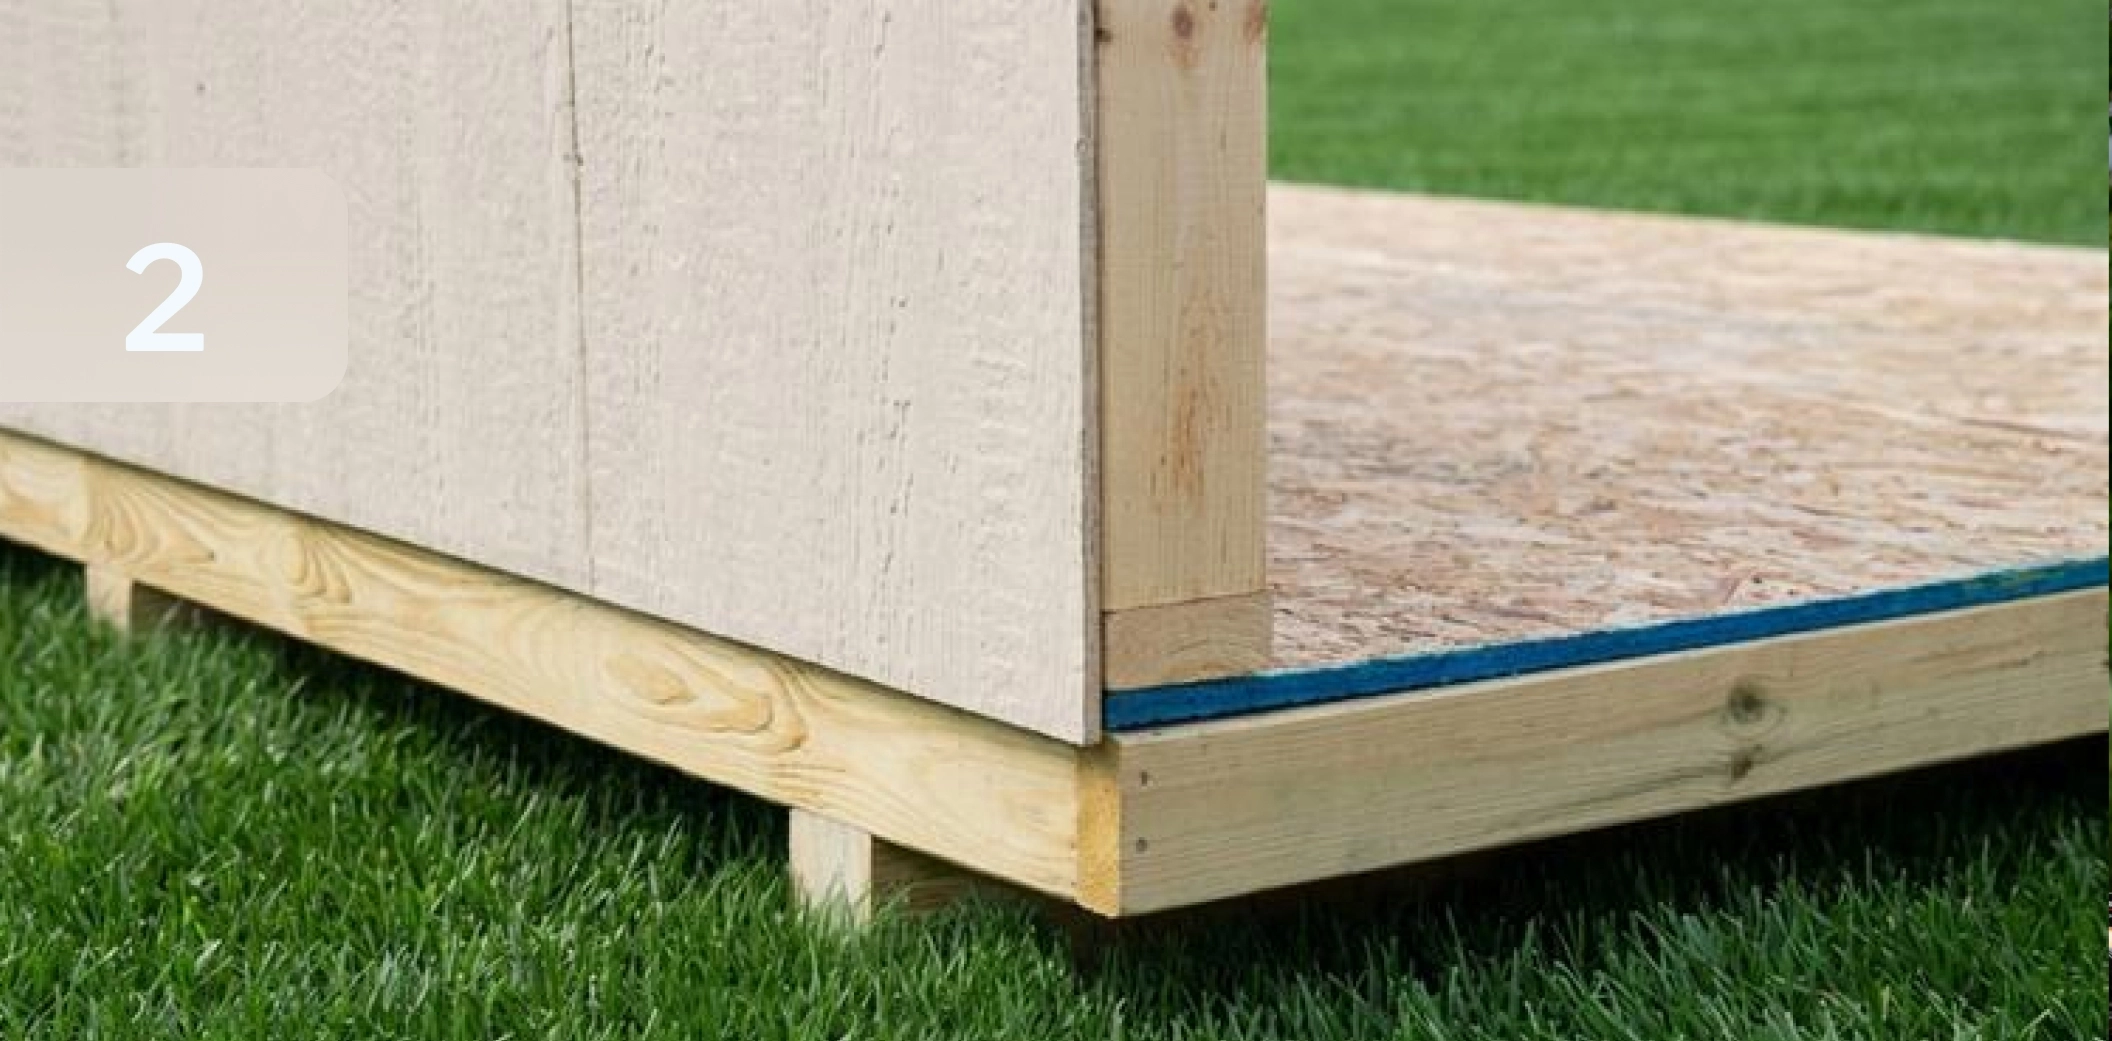
Note: The step into your shed is approximately 8" off the ground. A level site helps ensure easy access.